 Step
3: Rough Pencils
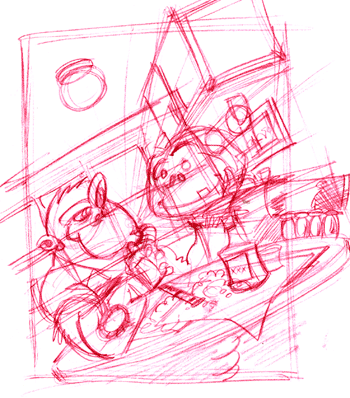
You've probably noticed that, thusfar, the artwork has been done in red colored-pencil. It's a personal preference I picked up from an illustrator friend of mine. I like the feel of a red (or sometimes blue, depending on my mood) colored pencil on my sketchbook... very loose, very non-commital.
 At
this stage, I'm getting much more specific with my lines and I'm roughing
out some pencils at about letter-sized proportions. Since I know I'll
be inking this myself, I'm comfortable with doing pencils at this size,
then enlarging them in my computer later to ink them.
However, since I'm still red-lining it, I've yet to break out any rulers or french curves or oval templates. Personally, I prefer to rough in the background elements first, then the foreground. Notice all the lines exploding out of the side of Chip's cheek? Those are perspective lines... the counter and cupboard and other elements use this as a vanishing point to create the illusion of consistent depth.
Also, you can see I've roughed in a box around the drawing. This is to give me an idea about how the drawing will eventually be cropped. However, to check myself, I've allowed the elements to bleed over those lines in case I need to fudge those proportions a little... or a lot.
This stage takes me a good 30 to 60 minutes. The eraser is used a bunch here, because, as I continue to move on through the various phases of an illustration, my opportunities for screw-ups become less frequent and more difficult to correct.