 Step
4: Final pencils
As a rule, each step gets easier than the one before... however, each step also tends to take longer than the one before.
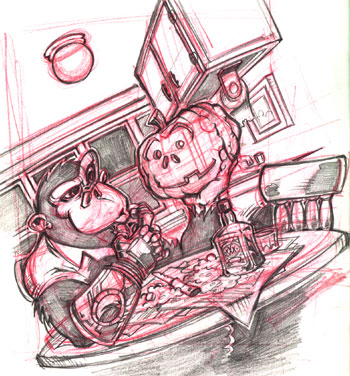
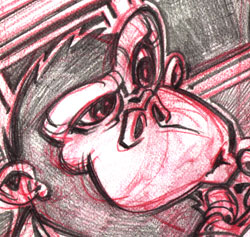
Finally, I break out the old lead to do my final pencil drawing. Personally, I prefer a nice 2B lead drawing pencil. 2B is great because it allows you to lay down a solid, dark line when you need one, but it doesn't require a trip back to the pencil sharpener every 20 seconds.
Since, again, I know I'm inking this myself, I decided to draw my pencils right on top of the redlines. Messy, sure, but it gets the job done and I know what I mean by my own sloppy linework. I'd probably draw my pencils separately from the redline if I needed to show them to a client or art director... or if another inker were working with me on it... but, screw that for this project.
 I've
decided to draw inspiration from comic book artist Chris Bachalo on this
particular piece. Bachalo likes exaggerated, quirky lines, rubbery characters,
and a nice balance between black areas and white areas. He also likes
to employ this funky little technique in which elements in the foreground
are drawn with a thin halo of negative space around them to separate them
from elements in the background. I tried to use these sensibilities here,
in order to keep all the objects in the picture distinct from one another.
At this stage, I'm also doing a bit of what's called "spotting blacks", which is an inking term that means, essentially, taking a step back from the drawing and deciding which areas would be good to fill with solid areas of black ink. Under the table, inside Chip's fur, the background windows, the underside of the cupboard... these seem to be nice spots to lay down rich areas of pure black. I'll say more about this in step 5.
Anyhow, needless to say, I've begun doing most of the detail work here. I don't want to totally take the creativity out of inking, but I also don't want to make myself guess what my intentions were when it comes time to lay down the black.