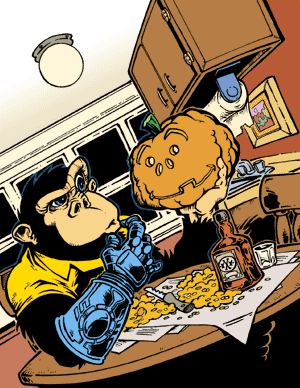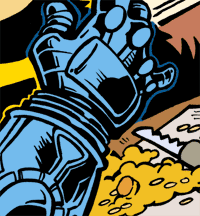
 Step
6: Flat Color
Now that I'm satisfied with the inking, I scan in the artwork. (Since my flatbed scanner is tiny, though, I have to scan in parts and stitch it back together in photoshop... I won't get into what a royal pain in the keister that is...)
Finally, I'm able to crop the artwork the way I want it.
Forgive me if this gets too technical, by the way. But, the rest of the process is done in Adobe Photoshop (graphic software). Fair warning.
I know there are about a million methods to coloring black and white artwork (some of which are terrible... don't even think about using the magic wand tool unless your shapes and linework are ultra-simple), but here's the method I like best: create a solid black layer, then add a layer mask to it. Alt-click (or Option-click on a mac) the mask and paste in your artwork. Ctrl-I (or Command-I) to invert the blacks and whites. Then, throw the layer mask away, telling photoshop to go ahead and apply the mask before deleting. Voila! You're left with a layer of black artwork, whites transparent. Even the anti-aliasing is kept intact. From there, just apply color to layers underneath.
 I call the first stage"flat color". Here, I use a paint-by-number
approach and just lay in all my color without any shading or anything.
The-monkey's-face-is-peach. The-monkey's-shirt-is-yellow. The-table-is-brown.
You get the idea. I'll jazz it up later, but that's it, at this stage.
Very simple.
Since I'm looking ahead to the shading step, however, I've decided to put my flat color in three different layers: foreground (monkey, pumpkin, table, bottle), middle ground (sink, cupboard, light), and background: (ceiling, windows, wall). This will come in handy when I'm trying to bump up foreground colors and mute background colors later on.
Five layers total at this stage: white background, background flat color, middleground flat color, foreground flat color, and my inked artwork on top.